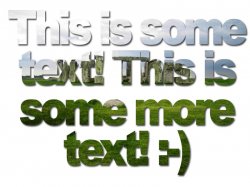
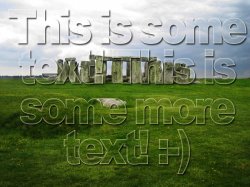
Hello everybody. Just wondering how I can create this, with the whole text being cut out so you can see the background image:
![welcomesr7.jpg]()
Thanks in advance!")

Thanks in advance!
In Photoshop:
1) Place the textured layer in layer one. Make sure this layer is not locked. If it is, double click this layer and click OK to unlock it.
2) Next, select the Type tool in the Toolbox palette. Type away on top of the image. This automatically creates a type layer on the layers pallette.
3) With the type layer still selected, Go to Layer>Rasterize>Type. Finally, position your cursor right between the Textured layer and the Type layer, and press the Option Key on your keyboard. You're done.
Thank you so much for your help. I will try this out tonight.This can also be done in Fireworks, by copying the background image and pasting in inside the text using the edit menu.
if you are interested I can give you step by step, just ask.
I only have Photoshop.


BTW you don't have to rasterize the type!
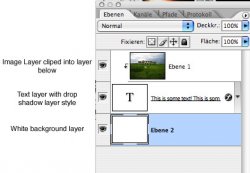
Here is a really small PS file showing you the layers you need for get this effect with 'live' type.
The key once again in a clipping mask.
Well, if your not going to change the size you might as well rasterize! But if I didn't care about live type, I'd just add a mask to the color rectangle layer in the shape of the text. I think its far easier than your subtract from shape method and the rasterize methode, but maybe not as 'flexible'.Don't Rasterize your type, don't rasterize anything unless you have to. When you rasterize your type, you can no longer adjust the size of what your doing. Keep everything as a Vector as much as you can.
DON'T RASTERIZE.
BTW you don't have to rasterize the type!
Here is a really small PS file showing you the layers you need for get this effect with 'live' type.
The key once again in a clipping mask.
But I guess the beauty of PS is that there are a million ways to get the same effect, all of them with dis/advantages.
That's great. But what if one does not want the yellow bar? How do you make it work then?
What exactly do you mean?
Something like this... or that...?
Thanks!Is there a way to do this preferably in Illustrator? I had a quick 5 min go converting the text to outlines and playing around with that.
But I didn't get too far.