I'm purchasing a new 250GB Samsung 840 Evo SSD, and I've done a lot of research on how I can install Maverick's 'as new', but get a lot of conflicting answers, so I'm looking to here for help.
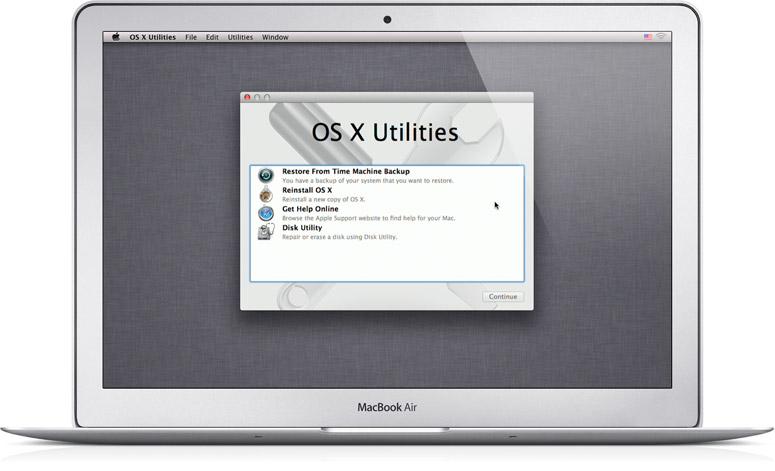
Once I install my SSD (straight out from the box), can I then press cmd + option + R (or whatever it is) to go into recovery mode, and then make it download Maverick's straight from the net?
Some people are saying that this will download and install the same OS as what it had when it was originally purchased, but will NOT work with Snow Leopard. My 2011 MBP came with Snow Leopard, and I have no install discs. So is it true that I will not be able to do internet recovery?
If not, I know I can copy my current hard drive contents to a back up, then use software (like Carbon Copy) to throw it on to the SSD and THEN format then erase everything on the SSD leaving a blank copy of Mavericks.
For what it's worth, I keep regular Time Machine backups. Can I install the SSD, and then recover from a backup?
Thanks.
")