Hey guys, its 128keaton. I wanted to make a quick guide for those who are stumbling through getting Yosemite on your unsupported Macs, namely Mac Pros and Mac Minis which are perfectly capable with some upgrades. Before you begin, if you have a Mac Pro, get a better graphics card, your default one will suck, thanks to Yosemite. The one that I am using as a stop-gap actually works fine for Yosemite, it is currently $35 (USD) on Newegg, if you want it, here is the link. Now on to the guide!
NOTICE: I am not responsible for erasing or breaking your Mac! Continue at your own risk!
This works on the public release with some 'shoe-horn'ing.
Prerequisites:
* An unsupported Mac, your choice if you deem it capable or not [Maverick Download Enabler].
* SFOTT Beta [download] [mirror]
* A USB Drive (8GB).
* OS X Yosemite.app
Pre-install:
1. Download and install SFOTT from the link/mirror above.
2. Download Yosemite either from a suspicious location or from the Mac App Store (try using Mavericks Download Enabler if on unsupported Mac).
3. Rename 'Install OS X Yosemite.app' to 'Install OS X Yosemite Beta.app'.
Hopefully that will not need to happen in newer versions of the script.
4. Plug the USB drive into your Mac and format it as 'Mac OS Extended' and name it SFOTT.
(photos will be added later)
Note: 12a only needs to be done if your Mac Pro's graphic card doesn't have EFI boot. If it does, you can still use 12a, but you can also use 12b.
SFOTT:
1. Open SFOTTBeta and follow the instructions until you get to a numbered Terminal menu.

2. Go to the Extras menu (7) and then the Yosemite menu (9).

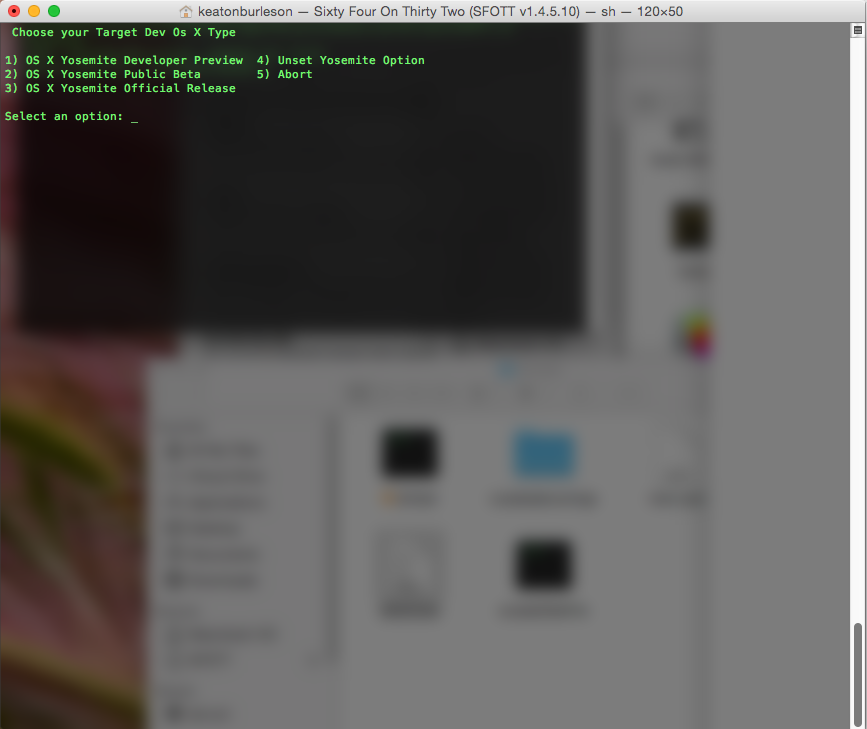
3. Select OS X Yosemite Public Beta (2), since the official option is a placeholder, lol.
4.Go back to the main menu (1) and go to settings (3).

5. Select 'Choose USB/media for the sfott key' (2) and select the SFOTT usb key you made earlier.

6. Return to the main menu (5) and then go to settings (3) then select option 'Select the computer to use' (3).
7. Use option 'Choose current computer' (1) and then select 'Select OS X System Version' (4).

8. Select 'OS X Yosemite Public Beta' (1)

9. Select 'Select OS X Installer' (5) and select 'In the default /Applications Folder location (Faster)' (1) It should work if you renamed your installer specified above.
10. Go back to the main menu and select 'Create / Patch SFOTT Key' (4).
11. Select 'Create a New key in Autorun' (2). Follow the directions there.

12a. If you have a graphics card that doesn't support EFI boot, open System Preferences on the target Mac, plug in the SFOTT USB key, and open the 'Startup Disk' preference pane. Select the SFOTT key and reboot from the panel.


12b. If you are using a Mac with built-in graphics or your graphics card supports EFI boot, just reboot and hold down option after the chime.
13. Your install should continue as expected.
Troubleshooting:
1. The installer says 'OS X Cannot be Installed on this Machine':
Make sure you set your machine/board-id in step 6-7.
NOTICE: I am not responsible for erasing or breaking your Mac! Continue at your own risk!
This works on the public release with some 'shoe-horn'ing.
Prerequisites:
* An unsupported Mac, your choice if you deem it capable or not [Maverick Download Enabler].
* SFOTT Beta [download] [mirror]
* A USB Drive (8GB).
* OS X Yosemite.app
Pre-install:
1. Download and install SFOTT from the link/mirror above.
2. Download Yosemite either from a suspicious location or from the Mac App Store (try using Mavericks Download Enabler if on unsupported Mac).
3. Rename 'Install OS X Yosemite.app' to 'Install OS X Yosemite Beta.app'.
Hopefully that will not need to happen in newer versions of the script.
4. Plug the USB drive into your Mac and format it as 'Mac OS Extended' and name it SFOTT.
(photos will be added later)
Note: 12a only needs to be done if your Mac Pro's graphic card doesn't have EFI boot. If it does, you can still use 12a, but you can also use 12b.
SFOTT:
1. Open SFOTTBeta and follow the instructions until you get to a numbered Terminal menu.
2. Go to the Extras menu (7) and then the Yosemite menu (9).
3. Select OS X Yosemite Public Beta (2), since the official option is a placeholder, lol.
4.Go back to the main menu (1) and go to settings (3).
5. Select 'Choose USB/media for the sfott key' (2) and select the SFOTT usb key you made earlier.
6. Return to the main menu (5) and then go to settings (3) then select option 'Select the computer to use' (3).
7. Use option 'Choose current computer' (1) and then select 'Select OS X System Version' (4).
8. Select 'OS X Yosemite Public Beta' (1)
9. Select 'Select OS X Installer' (5) and select 'In the default /Applications Folder location (Faster)' (1) It should work if you renamed your installer specified above.
10. Go back to the main menu and select 'Create / Patch SFOTT Key' (4).
11. Select 'Create a New key in Autorun' (2). Follow the directions there.
12a. If you have a graphics card that doesn't support EFI boot, open System Preferences on the target Mac, plug in the SFOTT USB key, and open the 'Startup Disk' preference pane. Select the SFOTT key and reboot from the panel.
12b. If you are using a Mac with built-in graphics or your graphics card supports EFI boot, just reboot and hold down option after the chime.
13. Your install should continue as expected.
Troubleshooting:
1. The installer says 'OS X Cannot be Installed on this Machine':
Make sure you set your machine/board-id in step 6-7.
Last edited: