Just finished putting my AEKII back together after a massive disassembly, cleaning, and color restoration. Thought I would post some before & after pics. If you have questions about disassembly/reassembly, feel free to ask. I didn't find a lot of resources online that facilitated the teardown. I used a small amount of developer creme (12% Hydrogen Peroxide), clear plastic wrap, and about 4 hours of direct sunlight.
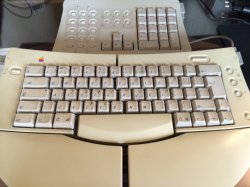
Before:
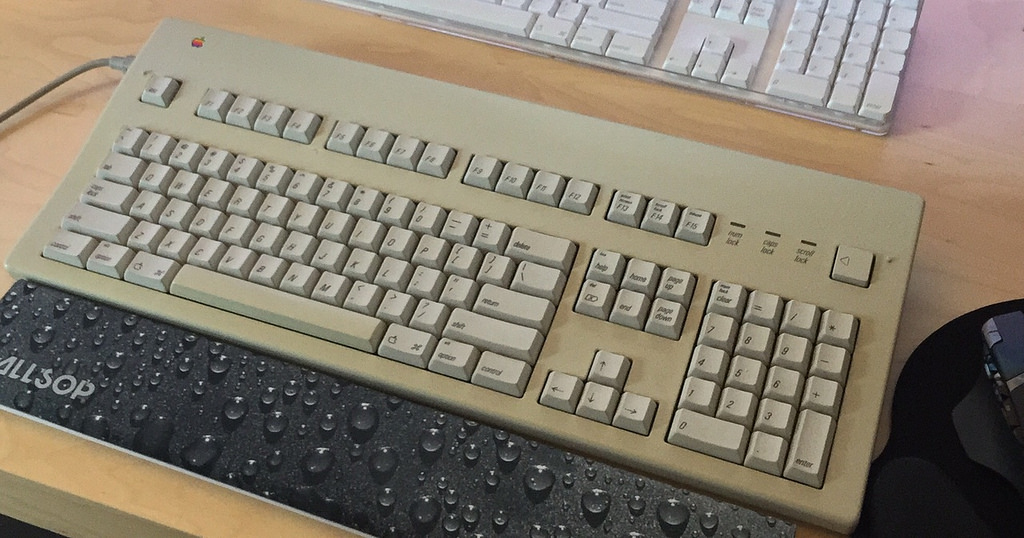
After:
I followed basically the same steps, minus a UV bulb, as here.
Before:
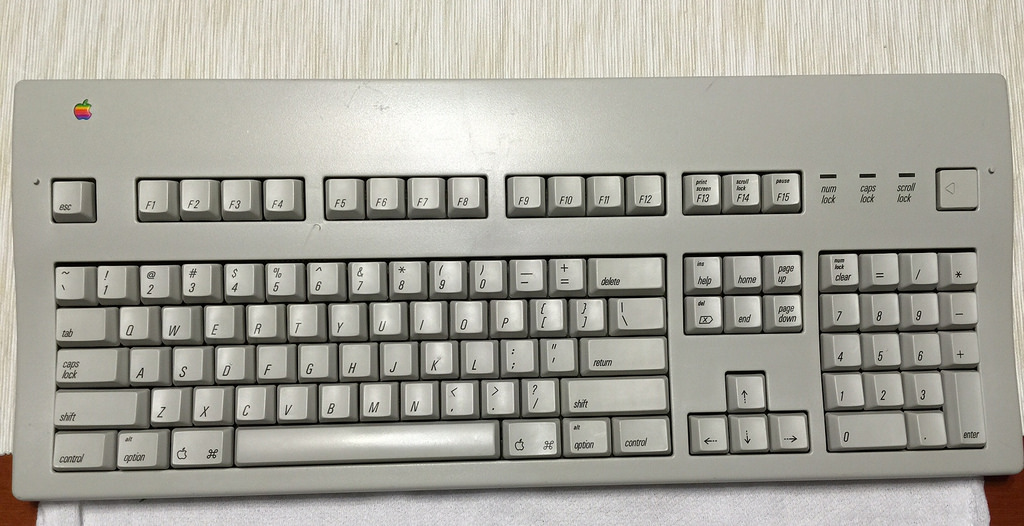
After:
I followed basically the same steps, minus a UV bulb, as here.

") )
)