I can help you.
PRINT OUT this post and keep it for reference.
First, BEFORE YOU DO ANYTHING ELSE, connect the SSD to the MBP using the USB/SATA adapter cable.
When you plug it in, the MBP is probably going to give you a msg to the effect:
This disk is unreadable, do you want to initialize it?
YES, you want to do this.
So open disk utility (if it doesn't open automatically) and erase it.
You didn't tell us WHICH VERSION OF THE OS you're using.
So...
If you're using High Sierra or earlier, erase to "Mac OS extended with journaling enabled, GUID partition format".
If you're using Mojave, erase to "APFS, GUID partition format".
Let the erase go through and the SSD should appear on the desktop (empty).
At this point, you might give it a name that is recognizable. (example "MacBook SSD")
Now we're ready for the next step.
Download CarbonCopyCloner from here:

www.bombich.com
CCC is FREE to download and use for 30 days, this will cost you nothing.
Open CCC and accept the defaults for now.
In the main window, you'll see "3 boxes".
Source Destination Schedule
For source, select the internal drive.
For destination, select the SSD
IGNORE the schedule box -- you don't need it
Now click "clone" and follow through.
CCC may ask if you want to clone the recovery partition.
YES, let it do this for you as well.
It will take a little while to copy everything over.
When done, quit CCC.
Once the clone is done, it's time to
TEST IT to see if it works.
REBOOT and HOLD DOWN THE OPTION KEY CONTINUOUSLY until the startup manager appears.
Do you now see the SSD as a bootable device?
If yes, click on it and hit return.
Do you get a "good boot"?
If so, log in and look around.
IMPORTANT:
Go to the "about this Mac" (apple menu) and check to be sure you're booted from the SSD.
If you are, ALL IS GOOD SO FAR.
It's time to shut down and "do the drive swap".
Go to ifixit.com to see what's involved.
IT'S EASY.
BUT USE THE RIGHT TOOLS FOR THE JOB.
You need a Phillips #00 driver (for screws on the back)
and
A TORX T-6 drive (to remove the "bosses" on the side of the drive).
Find these at local hardware stores or online, they're cheap.
In my experience, you DO NOT need to disconnect the battery for a simple drive swap.
Get the new drive in, then use A FEW screws to temporarily "tack on" the back.
Now turn it over and try a bootup again.
USE THE OPTION KEY TRICK, as you did above.
Do you get a good boot?
Fine, we're almost done.
Go to the startup disk preference pane, and select the SSD to be the "new boot drive".
Close startup disk, and reboot WITHOUT the option key.
Do you get right to the login screen?
Then login and look around.
Look OK?
Finished!
(be sure to put the rest of the screws back in to secure the rear cover)
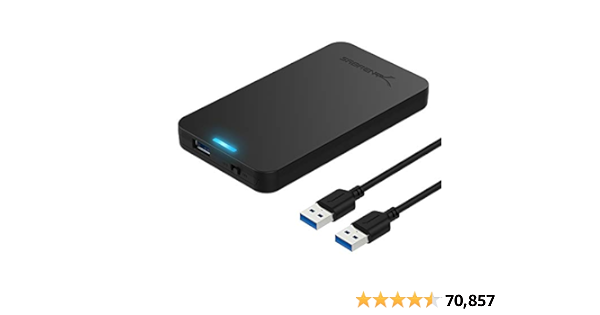
I'd suggest this for the old drive:
SABRENT 2.5 Inch SATA to USB 3.0 Tool Free External Hard Drive Enclosure [Optimized for SSD, Support UASP SATA III] Black (EC-UASP)
tinyurl.com
It can now become your backup, or use it for extra storage.