
If you've set up first-generation or second-generation AirPods with your iPhone and your Mac is signed in to iCloud with the same Apple ID, then your AirPods should be ready to use with your Mac.

Ideally, all you need to do is put your AirPods in your ears, click the Bluetooth icon in your Mac's menu bar, select your AirPods from the dropdown list, and click Connect.
If you don't see your AirPods in the Bluetooth menu, you can pair them manually with your Mac in the following way.
How to Connect AirPods to Mac
- On your Mac, launch System Preferences from the Apple menu bar ( -> System Preferences...).
- Click the Bluetooth pane.
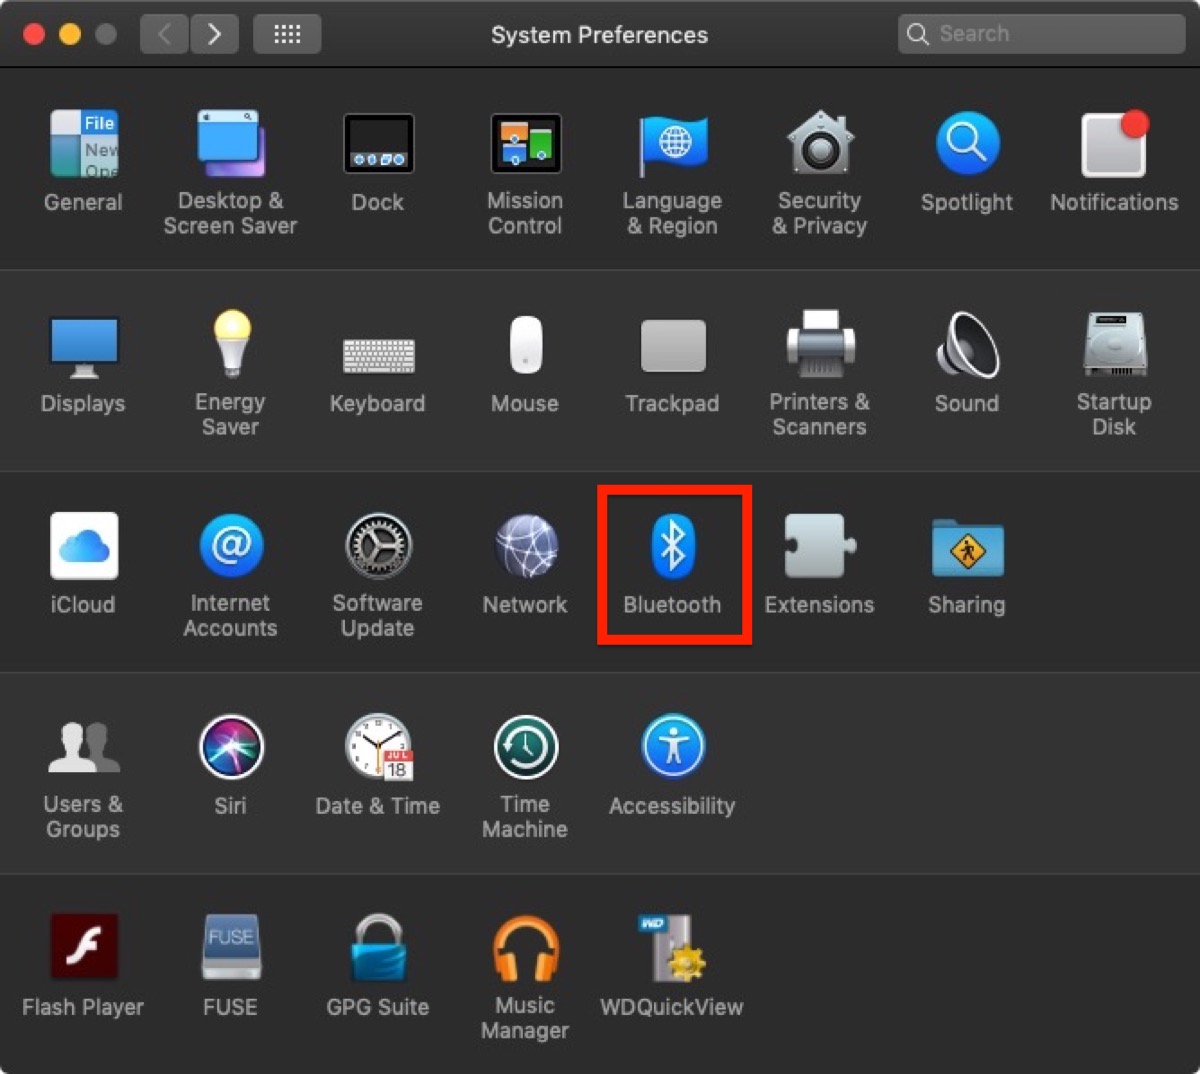
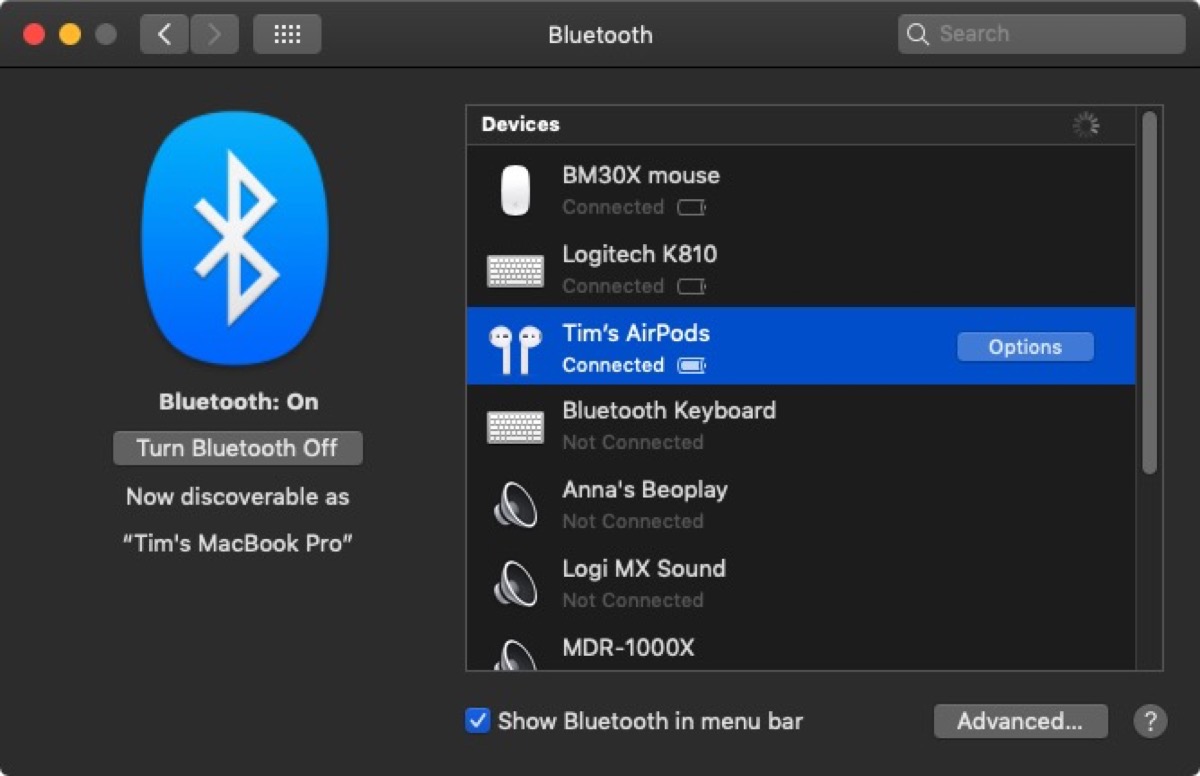
Make sure Bluetooth is turned on. - With your AirPods in their charging case, open the lid.
- Press and hold the button on the back of the charging case until the status light between the AirPods flashes white.

Select your AirPods in the Bluetooth devices list and click Connect.
How to Customize AirPod Controls on a Mac
Apple AirPods support a number of gestural touch controls that you can customize, including the option to change tracks with a double tap.
All of these options can be accessed in the Settings app while the AirPods are connected to your iPhone or iPad. But you can also access them when your AirPods are connected to your Mac. Here's how:
- On your Mac, launch System Preferences from the Apple menu bar ( -> System Preferences...).
Click the Bluetooth pane.
In the Bluetooth devices list, click the Options button next to your AirPods.

Double-tap options include Siri, Play/Pause, Off, Next Track, and Previous Track. Note that you can also set different gestures for the left and the right AirPod.
Article Link: Connecting AirPods to Mac: A Step by Step Guide
Last edited:
