That's a JRY-W9CUHD-AA1 board, mentioned in post #556 earlier in this thread.
It's specification reads "Type-c interface supports 5120*2880 60HZ 8bit color depth..."
So its not 10 bit, as the more expensive boards are - except for the U49.
Info from the bottom of the View More specs list on this page.
More details here - from a seller who has been used by others in this thread (for other products):

StoneTaskin JRY-W9CUHD-AA1 5K Driver Board For iMac 27 inches A1219 A2
To create a good consumer experience, please confirm your LCD/LED Screen part number before ordering. If you're a wholesale/distributor in your country please contact us for a better price and the best logistic options Please feel free to ask any questions about the product Every order is...stonetaskin.com
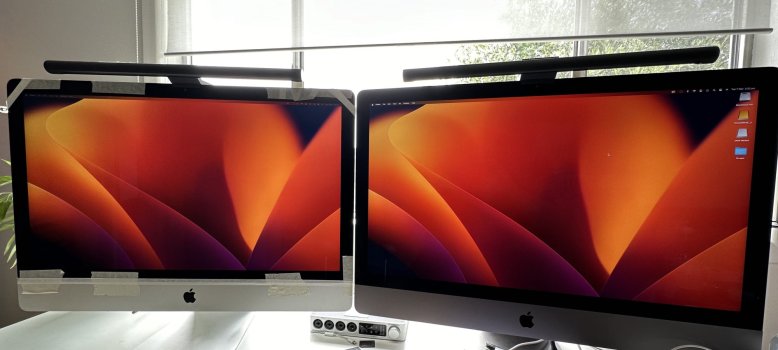
Is 8-bit vs 10-bit really noticeable? Just doing average stuff, no 100% true-to-color things
I can get this JRY-W9CUHD-AA1 direct from Stone Taskin for €130 vs. €304 for the R1811 board....
Last edited:
")