
iOS comes with a handy new Control Center function that allows you to record what you're doing on your screen. It's great if you want to capture gameplay, walk someone through a tutorial in an app, demonstrate a bug, and more, and it's available on both iPhones and iPads.
Subscribe to the MacRumors YouTube channel for more videos.
Enabling Screen Recording Button
If you don't have the screen recording icon in Control Center, you can add it in the Settings app.
- Open the Settings app.
- Choose Control Center.
- Select "Customize Controls."

- Tap the + button next to "Screen Recording" to add it to the "Include" section.
- Bring up the Control Center.
- Tap the icon for screen recording. It's two nested circles.
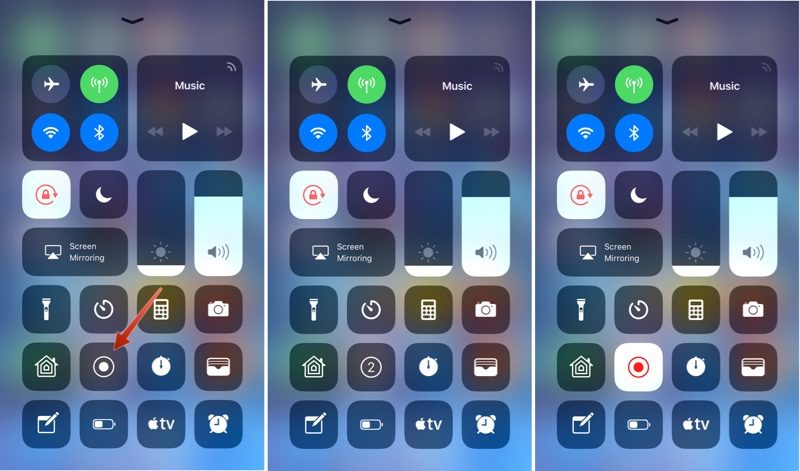
- Your iPhone or iPad will start recording video of your screen automatically following a three second countdown.

Ending a Recording
To stop recording the screen, you can go back to Control Center and toggle the screen recording icon, or your can tap the red bar at the top of the screen and confirm you want to end the recording. The video you made is then saved to the Photos app.

Screen Recording Options
There are a few options that are available when making a screen recording, which can be accessed directly in the Control Center. To bring up these options, simply 3D Touch on the screen recording icon.

From this menu, you can start a screen recording and toggle microphone audio on or off. These are the only options that are available for the feature -- it's fairly basic.
Article Link: How to Screen Record Your iPhone or iPad
Last edited: