Well I got my new Seagate HD from Newegg today and I just got done putting my machine all back together. All three problems have been fixed:
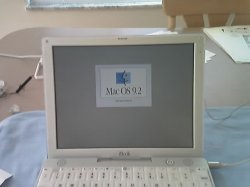
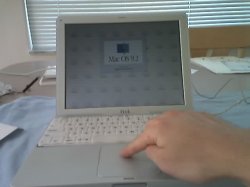
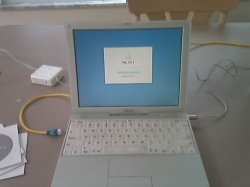
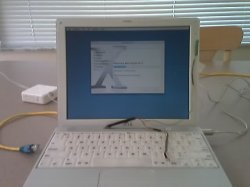
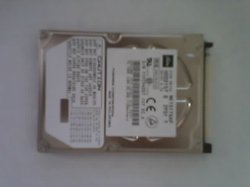
Here's some pics of the final result:
- Fixed the dim backlight. Now the display is fully bright at any angle.
- Swapped out noisy Toshiba 15 GB 4200 rpm HD for a quiet 20 GB 5400 rpm Seagate drive
- Trackpad is working again, woohoo
Here's some pics of the final result: