Hello all.
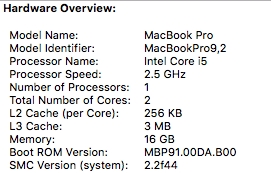
I have Macbook Pro mid 2012 A1278 13" that was previously run macOS 10.8 until recently I want to upgrade it to Mojave.
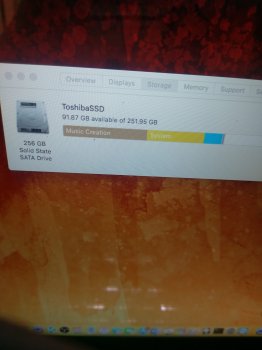
However, I feel like it is a leap too far since I cannot install Mojave due to message "the target disk is too small for this operation".
Here is the chronology.
0. I already modified my MBP to a dual boot system, main drive is SSD using Samsung 860 Evo 500GB, while existing HDD move to DVD bay. I cloned the HDD to the new SSD and putting the SSD on main drive bay, all worked like a charm. It's been running like this for around one year.
1. I created a Mojave usb disk installer with createinstallmedia, as I want to have a fresh install of macOS.
2. Booting from USB, erasing and formatting the SSD using macOS Extended, all goes well, the installer runs. The system then restarts. After restarts, system installing (37 minutes remaining with progress bar shown on the display), but then it goes a bit quickly and even before progress bar was full, the system says "macOS could not be installed on your computer. The target disk is too small for this operation".
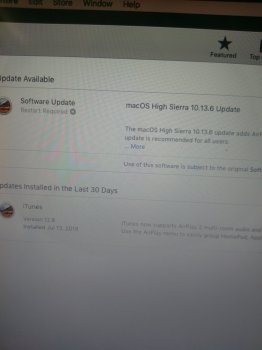
3. I then tried installing High Sierra, same problem showing and I cannot commence the install. How many times I restart the system, running the USB installer, erase and format the drive, result is the same.
4. I then move back one step to Sierra, and it can be installed, MBP up and running with Sierra normal.
5. After installation finish, I download Mojave from the AppStore, thinking to do direct update from Sierra to Mojave. Turns out, result the same, same problem, same issue.
6. Then, thinking it was a firmware issue that (hopefully) resolved and updated during installatiln of Sierra, I then do a fresh install with a Mojave USB. Erase and format the main drive, then it was the same case.
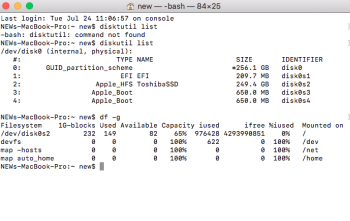
7. Thinking that it might be a problem of my HDD (the original MBP HDD with around 250GB space left), I then open the MBP and remove the HDD, so it is only the SSD left. Then, tried to do fresh install using Mojave USB, same result.
8. Trying with multuliple times restarts-USB install, result still the same. Cannot install due to target disk is too small for this operation.
Anything I might have missed? Is this about the main drive cable, like many forums discussed? As I see it, I dont have any stability problem at all (everything works fine, audio software running perfectly for recording and mixing) when running 10.8 inside Samsung SSD. Could it be the drive cable, if no symptoms was detected before doing the update?
Thank you very much for any advise and suggestions on my above case.