Why are you dragging things out?
What you want to do isn't much more than "child's play on the Mac".
My suggestion:
Use an external enclosure to set up your new drive BEFORE you install it inside.
This way you can "test it out" and STILL HAVE A WORKING LAPTOP IN THE MEANTIME.
If it was me, I'd recommend "upgrading" a 2010 (I also have a 2010) to 10.12 "Low" Sierra, and JUST LEAVE IT THERE.
No messing with APFS.
The firmware should upgrade ok.
This thread has surely been a pot of gold for me in my own process, glad it has also benefited you!
I have no idea whether or not you will retain the firmware update if you go back to a previous os. I assume you have a specific reason for rolling back to an older os, as it seems like it would otherwise make the most sense to stick with the most recent one available.
As for my own upgrade, I have been stalled out again, this time purely in terms of hardware. I opened my laptop and replaced the HD cable, but found the kit I bought for the SSD upgrade was lacking the screwdriver necessary for removing the old HD. I have now acquired that screwdriver, but have been holding out for the right moment to engage this final disruption. Sadly, with all the software updates and the old drive, my machine has slowed down with each update. I am fairly confident that once I install the SSD that will turn around, and I am really looking forward to that outcome!
Best of luck! I'm sure one of the others will have an answer for your question.
Hello! @photochthon glad you're still checking here. My question was prolly futile. I asked it because I like the simplicity of older versions of apps. I'm afraid that my favourite apps will no longer work with the newer macOS. I'm a minimalist and don't necessarily like or need added bells and whistles. For example, I wish I could turn back time on iTunes. *sigh*
Sorry to learn of your tool time trouble. I took heed of warnings to get the screwdrivers so I think I'm ready to go. I just have to psych myself up to get it done now. So scared something is going to go wrong, but my 7,1 is so slowwww now. I can't stand it anymore. I like having a million tabs open at once and a few apps running in the background. I only updated to El Capitan from Mavericks this spring... and that was a big jump for me! Updating hardware now...THIS. This is HUGE!!
Why are you dragging things out?
What you want to do isn't much more than "child's play on the Mac".
My suggestion:
Use an external enclosure to set up your new drive BEFORE you install it inside.
This way you can "test it out" and STILL HAVE A WORKING LAPTOP IN THE MEANTIME.
If it was me, I'd recommend "upgrading" a 2010 (I also have a 2010) to 10.12 "Low" Sierra, and JUST LEAVE IT THERE.
No messing with APFS.
The firmware should upgrade ok.
Hello @Fishrrman Thanks for your post.
I also have MBP7,1 that's running El Capitan. I like your idea of not bothering with High Sierra.
As per other threads and comments here, I thought the firmware appropriate for my desired hardware upgrades came only in the High Sierra combo update.
Can you please clarify for me...
1. will my new SSD 1TB work with "Low" Sierra upgrade?
2. will my new 16 GB ram also work with "Low" Sierra upgrade?
Hello @Fishrrman Thanks for your post.
I also have MBP7,1 that's running El Capitan. I like your idea of not bothering with High Sierra.
As per other threads and comments here, I thought the firmware appropriate for my desired hardware upgrades came only in the High Sierra combo update.
Can you please clarify for me...
1. will my new SSD 1TB work with "Low" Sierra upgrade?
2. will my new 16 GB ram also work with "Low" Sierra upgrade?
Hello @chrfr and thank you for your reply and recommendation. I was trying to avoid High Sierra so that I don't have to deal with APFS. I have viewed some YT instructional videos about using disk utility or terminal to remove APFS and revert back to HFS+ in High Sierra, but those videos have just left me with more "but, how do I...." questions.
Hello @chrfr and thank you for your reply and recommendation. I was trying to avoid High Sierra so that I don't have to deal with APFS. I have viewed some YT instructional videos about using disk utility or terminal to remove APFS and revert back to HFS+ in High Sierra, but those videos have just left me with more "but, how do I...." questions.
Well, just to say I tried... I installed “Sierra” on new SSD and rebooted from that before internalizing it. Worked like a charm so I opened up my MBP and replaced the original HD with the new SSD. In for a penny, in for a pound, I thought I’d try replacing the original ram with my shiny new Corsair Apple certified 2x8gb 1333MHz DDR3 204pin PC3 1066 ram at same time. Aaaaand she’s a no go 🙅🏻♀️. Boot just stops.... all I get is the apple icon with progress bar stalled at half mark. 😞
Going to replace original ram and hope for best, then upgrade to High Sierra and try again.
Loving this learning curve 🙄🤓 !!
Well, just to say I tried... I installed “Sierra” on new SSD and rebooted from that before internalizing it. Worked like a charm so I opened up my MBP and replaced the original HD with the new SSD. In for a penny, in for a pound, I thought I’d try replacing the original ram with my shiny new Corsair Apple certified 2x8gb 1333MHz DDR3 204pin PC3 1066 ram at same time. Aaaaand she’s a no go 🙅🏻♀️. Boot just stops.... all I get is the apple icon with progress bar stalled at half mark. 😞
Going to replace original ram and hope for best, then upgrade to High Sierra and try again.
Loving this learning curve 🙄🤓 !!
Try just putting one of the new DIMMs in, and leave one of the old ones. I had to do that with mine because I didn’t have the specific RAM the 2010 needs. Keeping one of the original modules in will cause both of them to run at the slower speed the 2010‘s chipset requires.
Try just putting one of the new DIMMs in, and leave one of the old ones. I had to do that with mine because I didn’t have the specific RAM the 2010 needs. Keeping one of the original modules in will cause both of them to run at the slower speed the 2010‘s chipset requires.
2010 MBP 7,1 Upgrade
This is a truncated log of my Journey. Several attempts and hurdles along the way, but I persevered and am SOOOO overjoyed that I did !!
So far, so very good !! I have not encountered any problems accessing files on external hard drives and am currently encrypting my new SSD with FireVault… not that I expected any problems since the SSD is formatted HFS+ !!
I am now flying at the speed of... well, I'm not sure really, but waaaaay faster than I was before and multi app'ing and tabbing along the way 🙂 @photochthon ...if you haven't yet, just set aside the time and do it !! You've got this!! You'll be running apps and speeding down the information super highway super fast !!
1. Install High Sierra with HFS+ (I don’t want APFS since I use several external HDDs, TimeMachine and FireVault and did not want to encounter any potential problems when using them - as I've read can happen.)
* Upgrade HDD to Yosemite —> El Captian —> Sierra
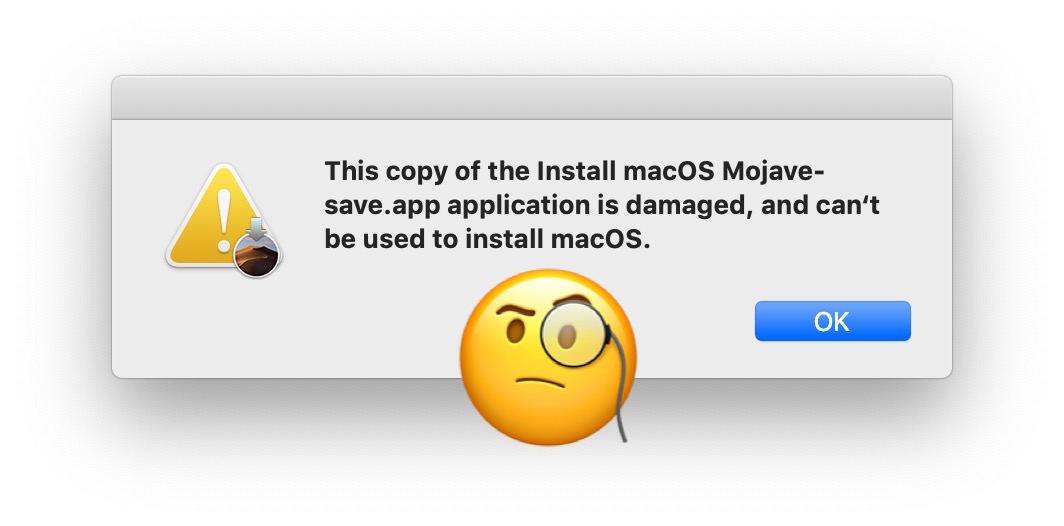
—> when trying to install Sierra, I kept getting error msg… “ Install MacOS Application is Damaged, Can’t be Used to Install MacOS”
—> workaround was to delete certificate.....
>>>>>>>>> applications > MacOS installer (right click) > Show package contents > Contents > Shared Support > InstallInfo.plist (delete this) <<<<<<<<<<
—> reopen installer and run!
* Back up HDD (with newly installed Sierra) to externalized SSD
* Install High Sierra on SSD using several hacks since was not straight forward (thanks Apple!)
* change clock to 08.08.2018 to circumvent certificate expiration/authenticity error preventing install
(prior to doing this, I kept getting error msg: ”MacOS could Not Be Installed on Your Computer” and the above plist hack did not work)
* install HS using terminal to circumvent APFS conversion !!
>>>>>>> /Applications/"Install macOS High Sierra.app"/Contents/Resources/startosinstall --converttoapfs NO --agreetolicense <<<<<<<
* go to App store, check for updates
* install each update in order to ensure firmware update and no error messages (e.g. “This volume does not meet the requirements for this update”)
* reboot to ensure everything working properly
* Remove original HDD and internalize SSD
* Reboot again
* Success!!
2. Install 16GB RAM
* I had originally purchased Corsair Apple certified 2x8gb 1333MHz DDR3 204pin PC3 10666 Laptop RAM
—> on boot, Apple logo appears, but boot stalls at halfway mark on progress bar
—> tried using one new 8GB and one original 2GB RAM sticks…. this worked, but not what I wanted !!
—> reread posts confirming successful 16GB installation and double checked specs of new RAM I’d purchased and realized my modules were too fast
—> appropriate is: (2x8GB) 1066MHz DDR3 204pin PC3 SODIMM (Note that 1066 MHz… NOT 1333Mhz)
—> not looking to reinvent the wheel I purchased the same RAM as other success stories (i.e. OWC… on Amazon)
—> installed new 16gb RAM aaaand…. MAN… look at her go!! Super fast!
**sound angelic trumpets** also...
**happy bum dance around my kitchen table**
“It had to beeeee. It had to beeee!!”
Who’s a happy girl?! 😀
Thank you @photochthon for your original post !!
Thank you @Fishrrman for your step-by-step!
Thank you @chrfr for additional tips and suggestions!
Thank you @iluvmacs99 for all your input and insights!
If you have attempted to use a MacOS installer application recently, you may discover an error message stating something like “This copy of the Install macOS Mojave.app application is damaged, and can’t be used to install macOS.” This prevents the installer of macOS from working and running, and...
In this guide, we will look at some of the installation problems that tend to occur with new releases of the Mac operating system. With any luck, you may be able to either correct the issue, allowing you to finish the installation, or prevent the problem from occurring in the first place.
Try testing the RAM with memtest86+ to rule out that it's defective. Also note that the 2.4GHz is especially picky when it comes to RAM. The mid-2010 Mac Mini will run 1333MHz RAM, and so will any other GeForce 320M-based Mac (mid-2010 MacBook and 13" MBP). In that case, try G.Skill...