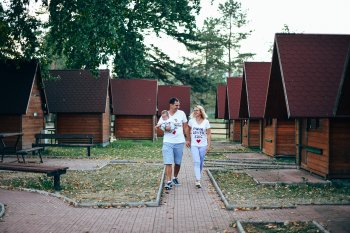
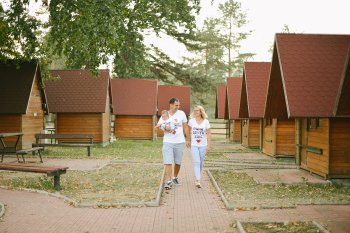
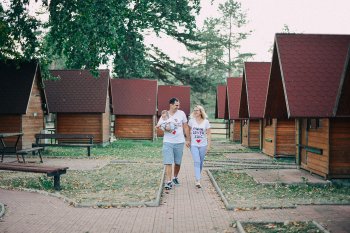
A preset is just settings that you have used on an image saved so you can apply them again in a single click. The issue with a preset is that unless your image was taken in the same light with the same exposure setting then a preset of this may or may not work.
However, it looks to me like something along the following has been done to it assuming Lightroom...
1. WB Warmed up a touch
2. Contrast and Clarity increased a touch. Clarity is like salt. A little adds to the flavour, too much ruins it
3. Drop the Vibrance (mid tone Colour saturation)
4. Tweak the saturation to get the colours the way you like
5. Here is the daddy-o of the settings... adjust the tone curve so that is its a gentle S curve and also lift the lower left corner (the blacks) up a bit to wash them out a little. Again, this is salt like, a little is good, a lot will ruin it
Then maybe some dropped highlights, increased shadows and tweaks to the white and black to get the overall brightness of the image right to taste...
I think...
I may be wrong.
The thing here is the crushed blacks which is giving the overall retro film look to the images.