I'm going to start out by saying that in 5-8th grade I would buy repair (sometimes upgrade) and resell them on eBay before switching to bigger and better PowerMac's G3-G5 throughout High School until College, There I purchased a early 2011 15" Top Speck MacBook Pro of my very own... an i7 Mac!! I was stoked and have been dealing with them ever since.
Today although I wanted to cannot be my Teardown day but I wanted to at least start talking about this so this give me some time while the post has my G3 chargers in a different County.
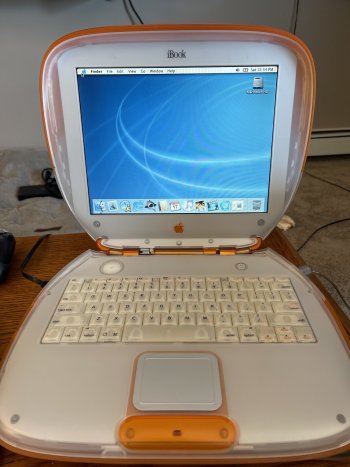
I am going to be turning on of my favorite Products (But not turned on in 5 years because I lost the power cord) The iBook ClamShell G3 into something I can use again. I have been working with, on, in, and under 2009 - 2019 Mac's in all possible facets for a few years now. Specializing in Saving 2011 MacbookPro8,2's from the plagued GPU failure. I also have saved many a destroyed 27" iMac's with there wonderful set of issues. Ive built iPad's/ iPod's from the bottom up... I guess what I'm trying to say is I don't doubt my physical or logical abilities to do this. But all the Forums I've come across simply dismiss the idea as two proprietarily, Things wont work together, battery power supply..... Has any one ever opened one up and made some room... its just plastic, but that's neither here nor there today... as demo cannot start until I get that G3 powered up for the last time...
Main plan:
G3 iBook Clamshell Tangerine 333MHz
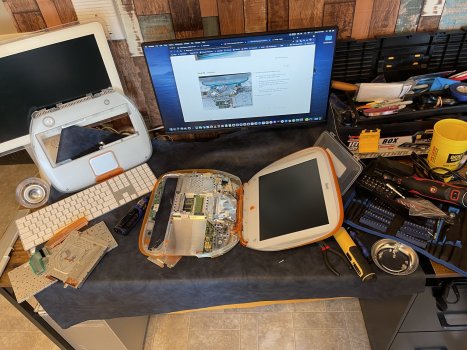
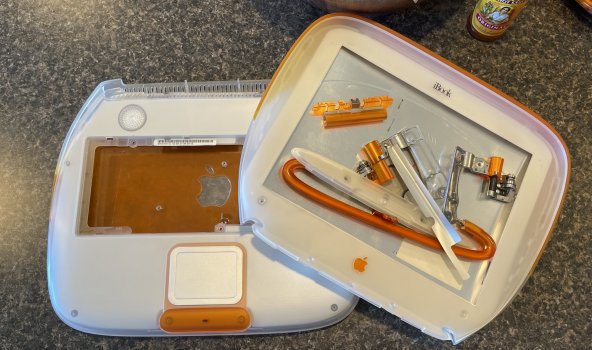
-Complete Disassemble G3 iBook Clamshell Tangerine down to bear plastic,
-Remove integrated proprietary track pad
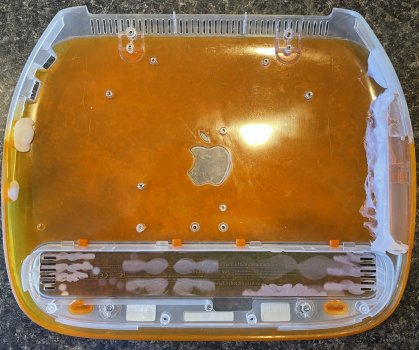
-Patch all pre made holes along sides where old ports where located.
-Remove color, and Frost from all Plastics
-Measure and cut G3 for display
-Create space for larger screen size
-Add Plastic (From Downer Clamshell) to create Widescreen Area above and below
-Create cut out for new keyboard and track pad set up
-Fab for G3 hinge so screen shuts off when closed
-Measure for logic board and battery
- Once installed Vinyl wrap behind keys and keys or purchase white keys
-Drill holes for the inputs on the board
-Mark and add pegs from logic board to screw into (plastic weld)
-Vinyl Wrap Tangerine Parts of Plastic Color was removed
-Reassemble new Clamshell 13" MacBook Pro
= The perfect Head turning coffee table Laptop ever...
2010 13" MacBook Pro Intel 2.4GHz C2C
- Complete Disassemble
- Remove Keyboard and Keyboard from Unibody
- Remove Screen and Assembly
- Parts bin Unibody...
Let me know your thoughts...

Today although I wanted to cannot be my Teardown day but I wanted to at least start talking about this so this give me some time while the post has my G3 chargers in a different County.
I am going to be turning on of my favorite Products (But not turned on in 5 years because I lost the power cord) The iBook ClamShell G3 into something I can use again. I have been working with, on, in, and under 2009 - 2019 Mac's in all possible facets for a few years now. Specializing in Saving 2011 MacbookPro8,2's from the plagued GPU failure. I also have saved many a destroyed 27" iMac's with there wonderful set of issues. Ive built iPad's/ iPod's from the bottom up... I guess what I'm trying to say is I don't doubt my physical or logical abilities to do this. But all the Forums I've come across simply dismiss the idea as two proprietarily, Things wont work together, battery power supply..... Has any one ever opened one up and made some room... its just plastic, but that's neither here nor there today... as demo cannot start until I get that G3 powered up for the last time...
Main plan:
G3 iBook Clamshell Tangerine 333MHz
-Complete Disassemble G3 iBook Clamshell Tangerine down to bear plastic,
-Remove integrated proprietary track pad
-Patch all pre made holes along sides where old ports where located.
-Remove color, and Frost from all Plastics
-Measure and cut G3 for display
-Create space for larger screen size
-Add Plastic (From Downer Clamshell) to create Widescreen Area above and below
-Create cut out for new keyboard and track pad set up
-Fab for G3 hinge so screen shuts off when closed
-Measure for logic board and battery
- Once installed Vinyl wrap behind keys and keys or purchase white keys
-Drill holes for the inputs on the board
-Mark and add pegs from logic board to screw into (plastic weld)
-Vinyl Wrap Tangerine Parts of Plastic Color was removed
-Reassemble new Clamshell 13" MacBook Pro
= The perfect Head turning coffee table Laptop ever...
2010 13" MacBook Pro Intel 2.4GHz C2C
- Complete Disassemble
- Remove Keyboard and Keyboard from Unibody
- Remove Screen and Assembly
- Parts bin Unibody...
Let me know your thoughts...