OP wrote:
"I have a new old stock Crucial MX100 SSD (512GB), what kind of help would that be in my situation?"
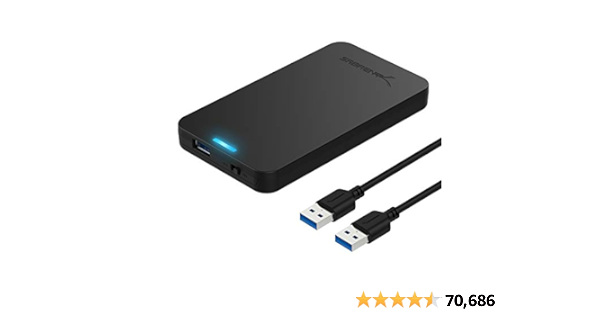
Is this SSD "in an enclosure" that you can plug into the USB3 port?
If not, GET an enclosure for it. Here's one:
SABRENT 2.5 Inch SATA to USB 3.0 Tool Free External Hard Drive Enclosure [Optimized for SSD, Support UASP SATA III] Black (EC-UASP)
www.amazon.com
Now, let's make it into an EXTERNAL boot drive.
Power off the Mini.
Connect the drive.
Press the power-on button and hold down this key combo:
Command-OPTION-R
This will boot you into INTERNET recovery (this is NOT THE SAME AS "the recovery partition").
When you get to the internet utilities (be patient), open disk utility.
Go to the view menu and choose "show all devices".
(If there is no view menu, just continue on, older installers don't have the view menu)
Locate the SSD in "the list on the left".
Click it and click ERASE.
If you're going to install High Sierra or earlier, erase to "Mac OS extended with journaling enabled", GUID partition format.
If you're going to install Mojave or later, erase to "APFS", GUID partition format.
When the erase is done, quit disk utility and open the OS installer.
Start clicking through.
When the installer asks WHERE you want to do install, BE SURE that you select the external SSD.
Continue on. The Mac will restart one or more times, and the screen will go dark for a minute or more with no other indication of activity. BE PATIENT.
When done, you should see the initial setup screen (choose your language).
Start clicking through.
You can either create a brand-new account if you wish,
OR...
You can use setup assistant to migrate data from one of the internal drives.
When done, go to the startup disk preference pane and select the external SSD to be the new boot drive.
I predict you will be PLEASED with the performance improvement.