I just got the one on my ipad (3rd gen) and figured I'd try to give some tips since when I did my ipad2 last year I was kinda nervous about the whole wet application process.
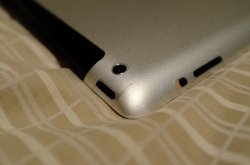
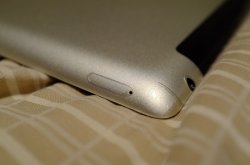
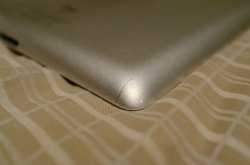
BTW those that are curious about the protection it goes all the way to the edge of the metal and wraps around the corners so it protects it really well.
- First off, read the instructions the whole way through (it's not a lot of stuff) http://www.bestskinsever.com/application
- I have a spray bottle with the measurements on the side so I had exactly 1/2 tsp of dawn soap (the blue color) in 20oz of water. I didn't have a 1/4tsp so doubled everything.
- The camera shouldn't have a film over it. There was a small part where the film was still attached to the main sheet.
- ANYTHING that does or may touch the skin should be covered with that solution. This includes the palm of your hands as it may come in contact with it while you are removing the backing.
- For a squeegee I used one of those fake credit cards you always get in the mail. I had a clean edge but you can wrap it in a paper towel if worried. Douse it in the solution as well
- Take your time. You can place and move it around for quite a while.
- If it feels like it's sticking a little more than it should, take it off and rewet it.
- A good anchor point is the camera hole. Line that up and then rotate and slide things around till the match up
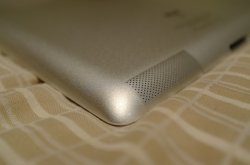
- Try to go around ports when you squeegee. For example by the speaker grill instead of squeegee down towards grill I did it to the left across the top of it
- Only part that won't really stick down are the corners, this is fine. Try to get it in the general area and then try to leave a single piece hanging instead of a couple smaller bubbles (hard to really explain)
- After an hour or so go back and carefully push those edges down. Remember at this point once it's down it's down it's generally down for good. You can spray some of the solution on your hand if you want. but the edge will have a harder time sticking.
- Don't immediately turn it on. If you followed all the directions there shouldn't have been a lot of water everywhere but there could be some water left in various ports. That should dry within a day or so. You could wait a week from preordering it you can wait an extra day to make sure it's dry.
- Don't worry about little bubbles and imperfections you see, those will get better over the next couple days. Took like a week for the ipad2 to look really good.
BTW those that are curious about the protection it goes all the way to the edge of the metal and wraps around the corners so it protects it really well.