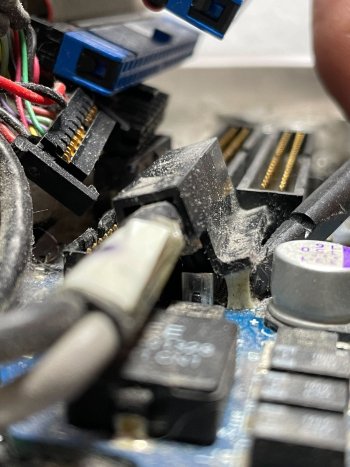
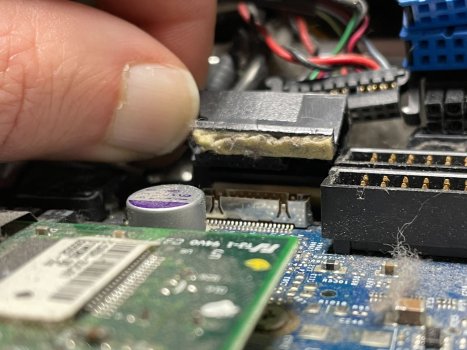
Below shows the
StarTech IDE/SATA adapter which I believe came with the double Molex cable attached. I noted that the jumper on the adapter had already been set to 'master'. This is something to check whilst installing, because if set to slave, I believe the iMac wouldn't correctly boot. Note: OS Leopard was installed to the SSD using firwire from this Mac just prior to this refurbishment.
If the SSD is precisely positioned as shown in the r/h photo and firmly attached with double-sided tape, there will be no interference with the fan or other top housing components. (On YTube there is at least one video where an SSD is placed on top the optical drive carrier, flapping in the breeze without being fastened down - that made me cringe, as it could severely damage the fan blades).
View attachment 894355 View attachment 894357
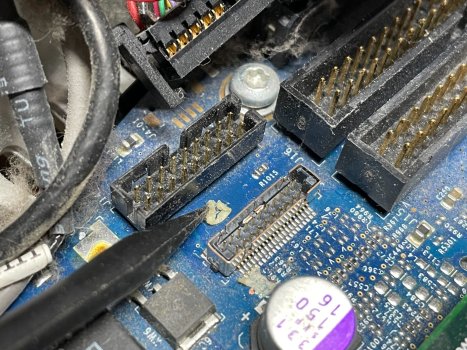
One point of particular note. That StarTech adapter I've linked to, is a near perfect match, as the iMac's original IDE ribbon cable P/No FC80K B4-0A-0411 can still be retained as there is adequate length to reach it's mating connector on the logic board.
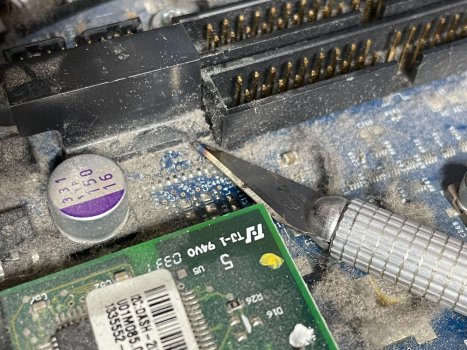
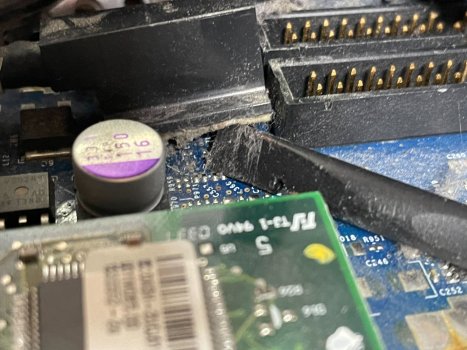
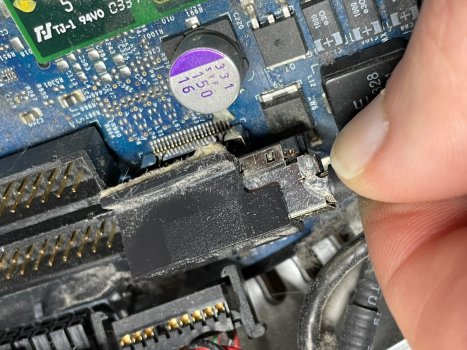
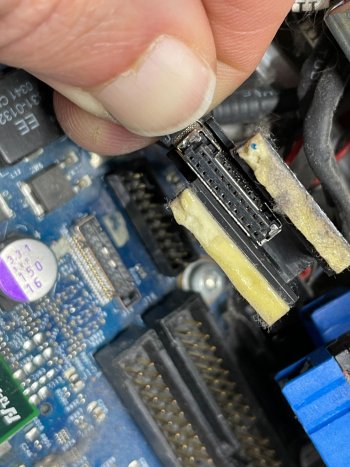
Prior to the setup shown above I tried using 2 other IDE/SATA adapters I'd bought for a G4Cube SSD upgrade. On this iMac the offset pin slot in the IDE adapter didn't allow positioning the IDE ribbon cable in a way where the opposite end would reach the logic board connector. See photos below.
These IDE/SATA adapters therefore are NOT recommended for this iMac - unless one wishes to make up a longer compatible IDE ribbon cable.
Having said that, I'm sure in the past I've installed a green-coloured adapter to a 17" iMac, so perhaps I got lucky and the connector offset pin slot just happened to match. Although it's a little more expensive, I'd say go for the red StarTech.
View attachment 894363 View attachment 894365
Care should be taken when re-installing the SSD/optical drive carrier assy back into the upper housing. There's now a little more room for manouevre without the bulkier original hard drive, and when the assembly feels to be correctly located, the x4 19mm Torx screws can be inserted and partially tightened down. At this point one needs to check that the small locating pins alongside two of the 4 Torx screws are perfectly lined-up. Any necessary adjustment can be made by wiggling the drive carrier assy to suit. When correctly aligned, all 4 Torx screws can be fully tightened down. Shown below one of the 2 locating pins correctly aligned:
View attachment 894404
I should add that it's possible to tighten down the SSD/optical drive carrier even with those 2 locating pins incorrectly positioned,
but the result would be that one couldn't fully insert a CD or DVD disc. So after re-installing the drive carrier assy I always immediately perform a trial insert of a disc. If ok, at this point the EMI shield together with it's original copper tape can be re-fitted.
Below - Ref the logic board/lower housing assy.
After cleaning dried thermal paste residue from the CPU, a small pea-size amount of new paste should be applied (not shown), and the heat-sink re-installed. Note: New
3.6v back-up lithium battery installed.
Then thermal paste should be applied to the heat-sink end blocks as shown - just prior to refitment of the lower housing.
View attachment 894370 View attachment 894369
Don't forget to re-install the inner memory stick, (PC-2700 184pin SDRAM on this model, with PC-2700 200pin SO-DIMM at the outer location - below end cover).
iMac completed and booted sucessfully.
View attachment 894405