Hello, I have recently posted a Guide on how to Enable USB Installation on Bootcamp in a thread. I can see that many users are having this issue like some of them don't have SuperDrive or want to install using USB but there Bootcamp doesn't support USB Installation.
So now I will show you how to enable USB Installation on Bootcamp on any unSupported Mac Systems
(MacBook, MacBook Pro, MacBook Air and more.)
Things you required:
Steps are as Follows:
1. Open Terminal and type the code below, this will copy Info.plist to Desktop as a Backup.
2. again in Terminal type the code below, It will open Info.plist.
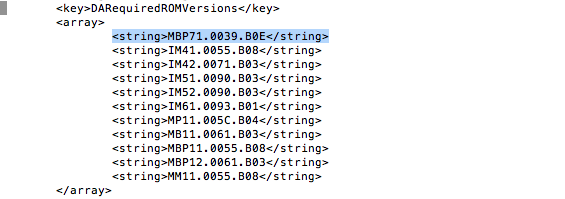
Now move down and Add your BootRom Version under "DARequiredROMVersions" at Top of the List.
(to find BootRom Version open "System Information" from Spotlight)
3. move Down again, find "PreUSBBootSupportedModels" and delete "Pre" from a word also add your Model Identifier at Top of the List.

4. now Save and Exit Terminal by Pressing "control + x" then " Y " and "enter"
5. now I assume that you have already installed Xcode, If not Download and Install it now for further steps or else you will get error.
6. After Xcode is installed open Terminal again and type the code below:

now It will ask you to read License Agreement, Hit enter to read Agreement and press "control + q" to exit the License Agreement.

after that It will ask you to agree the terms of Software type "agree" and hit enter.

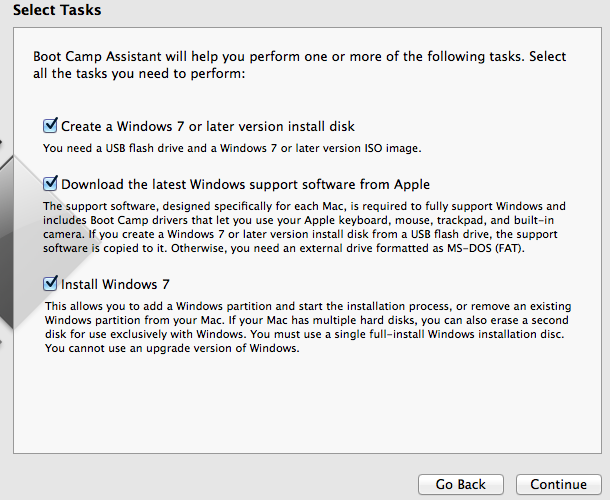
7. Done, now You can install Windows using USB Flash Drive.
If you get any Error or having Problem, Post here.
Thank You
Tutorial created by RahulRulz
So now I will show you how to enable USB Installation on Bootcamp on any unSupported Mac Systems
(MacBook, MacBook Pro, MacBook Air and more.)
Things you required:
- Mac OS X Mavericks
- Bootcamp Assistant
- Terminal
- Xcode (Download from AppStore)
Steps are as Follows:
1. Open Terminal and type the code below, this will copy Info.plist to Desktop as a Backup.
Code:
sudo cp /Applications/Utilities/Boot\ Camp\ Assistant.app/Contents/Info.plist Desktop/Info.plist.bak2. again in Terminal type the code below, It will open Info.plist.
Now move down and Add your BootRom Version under "DARequiredROMVersions" at Top of the List.
(to find BootRom Version open "System Information" from Spotlight)
Code:
sudo nano /Applications/Utilities/Boot\ Camp\ Assistant.app/Contents/Info.plist3. move Down again, find "PreUSBBootSupportedModels" and delete "Pre" from a word also add your Model Identifier at Top of the List.
4. now Save and Exit Terminal by Pressing "control + x" then " Y " and "enter"
5. now I assume that you have already installed Xcode, If not Download and Install it now for further steps or else you will get error.
6. After Xcode is installed open Terminal again and type the code below:
Code:
sudo codesign -f -s - /Applications/Utilities/Boot\ Camp\ Assistant.app/Contents/MacOS/Boot\ Camp\ Assistantnow It will ask you to read License Agreement, Hit enter to read Agreement and press "control + q" to exit the License Agreement.
after that It will ask you to agree the terms of Software type "agree" and hit enter.
7. Done, now You can install Windows using USB Flash Drive.
If you get any Error or having Problem, Post here.
Thank You
Tutorial created by RahulRulz
